Installing a new toilet may seem like a daunting task. Fortunately, it’s something you can do yourself without needing professional assistance. This being said, if you don’t feel comfortable installing your own, make sure your contact a professional to help you. Many residents may only have to replace a toilet in their home just once, or not at all. Regardless, when you find yourself in need of a new toilet, you want to make sure that you do not compromise your bathroom’s plumbing when you install the new fixture. It’s important that you read the following instructions carefully on how to install a new toilet, so you can safely and effectively install your toilet.
Which Toilet is Right for Your Bathroom?
Before you go shopping for a new toilet, make sure you the measure the area where the new toilet will be installed. You want to pick a model that fits your bathroom and includes a full installation kit (bolts, wax seal, etc). If you pick out the toilet bowl separately from the tank, make sure they are compatible before attempting to install them in your bathroom. And remember, if you run into any unexpected problems or don’t feel confident about installing your own toilet, call ACE Home Services to get an expert plumber to your home ASAP!
How To Install a New Toilet
Once you have the parts and pieces, carefully perform each step:
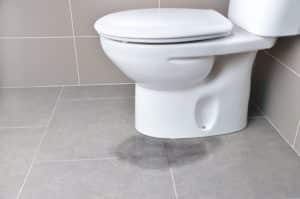
- If you haven’t already, remove the old toilet and make sure the floor is completely clean.
- Around the soil pipe, install the bolts into the floor or flange (depending on the model).
- Flip the bowl upside down and place the wax ring around the bottom hole that empties the waste from the toilet.
- Flip the bowl back over and gently set it on top of the soil pipe.
- Tighten the bolts by slowly tightening one at a time while slightly rocking the toilet, helping it to settle into place. Then, place the bolt caps on once the toilet is secure and all bolts are tightened.
- If the toilet has a separate tank, then follow the manufacturer’s instruction on how to install the tank, paying extra attention to securing gaskets and avoiding leaking water bowls.
- Now, you can screw on the toilet seat!
- Once you have completed all these steps, attach the supply line and turn on the water supply. Water should gradually fill up the tank, NOT the bowl. If it does, you may want to adjust the flapper in the tank.
- Finally, test your toilet by flushing the handle and making sure the tank empties into the bowl.
- You’re done! You can now use your new toilet!